The well known Piriform’s PC Optimization software CCleaner it is now available on Mac for Leopard, Snow Leopard and Lion. It this post I will show You how to use “Wipe Free Space” feature of CCleaner.
But why should I wipe the free space on a hard disk?
When you create any sort of file in your system, what happens here is that there is actually a certain hard drive space that is assigned to that file. That memory space is unique to that particular file. Now, when you delete that file, it would then be transferred to the Trash. When you empty your Trash, you then get rid of the file effectively, right? Wrong.
The hard drive space that was once assigned to the deleted file remains in existence. As long as this still exists, can be virtually recovered by skilled technicians or hackers. This is one of the principles of data recovery software. So if You want that an information sent to Trash to be effectively removed forever, you need to use a wipe free space software.

CCleaner it is able currently to do 3 types of wiping: Zero Out, 7-pass erase and 35-pass erase. Any of those methods will generally make impossible recovery using commercial grade software recovery. The number of erasing passes it is relevant just for very sensitive data that could be hardware recovered by specialized laboratories in an controlled environment using direct plate reading even from defective hard drivers. But in this case it is better to use dedicated erasing software that include DoD and other sophisticated algorithms.
From http://www.piriform.com/ccleaner you can download CCleaner for Mac.
You can install like any usual application, with a simple drag to application folder.
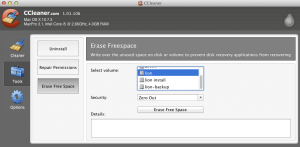
In the tools tab You will find the Erase Free Space button as you can see in this screenshot.

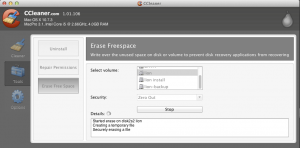
You can choose the hard drive volume of which you want to wipe the free space. After that you simply press the Erase Free Space button. Depends on the size of the disk, could run for few minutes or for hours.